|
| Stunning image of a vintage Chantilly dress from Blue Velvet Vintage |
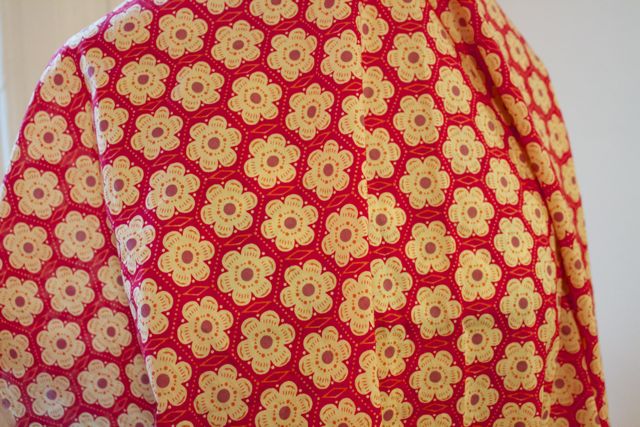
- As with most fabrics, you can go either high- or low-end with lace. The best stuff is French, and genuine French Chantilly lace has a little fringed border on the scallops, which I just love. (For close-up pics of lace, check out B&J's gorgeous selection.) This starts at around $60 a yard, but imitation Chantillys can be had for cheap, in the under $10 range.
- French lace is woven on shorter looms than most fabric, and so it's generally 36" wide. Cheaper varieties come in standard fabric widths.
- The lace is generally made of nylon, or sometimes silk for the really pricey stuff. You can burn a hole in it with your iron faster than you can say Chantilly. Always use low heat (no steam!) and a silk organza press cloth.
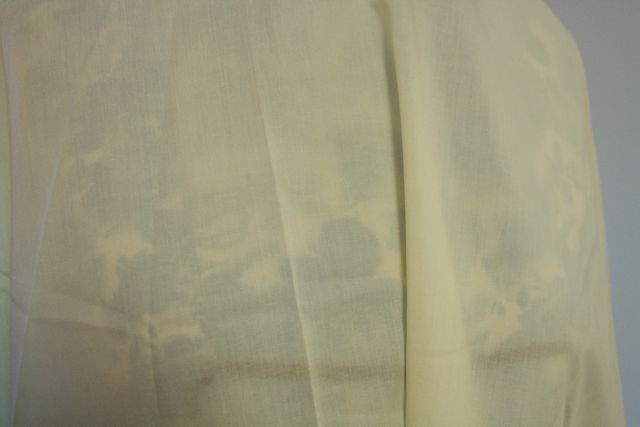
- Lace can be stiffly starched when you buy it. I soaked mine in cold water with Soak Wash and then dried it flat. It came out nice and soft rather than stiff.
- For more info on lace, I highly recommend Susan Khalje's article "Amazing Lace" in Threads #124 and the lace chapter in Claire Shaeffer's Fabric Sewing Guide.
- Susan Khalje recommends using an underlay for Chantilly lace, because it's so fragile on its own.
There are lots of questions to ask yourself: how will you deal with facings? Where should you use French seams? What if you want a sheer look—you could bind off the neckline and wear a slip underneath. There are so many possibilities!
If you're inexperienced with using lace (like me!), it's a good idea to use the design in simple ways. For instance, I'm using a dirndl skirt, which is perfect for a border scallop since it's a straight rectangle. But there are much more advanced and complicated ways to use lace: for a circle skirt, you can cut out lace motifs and applique them around your hemline to form a new border. This technique can make a lovely neckline as well. (Look again at the dress above to see some advanced applique—look at the motif on the blue silk band on the skirt!)
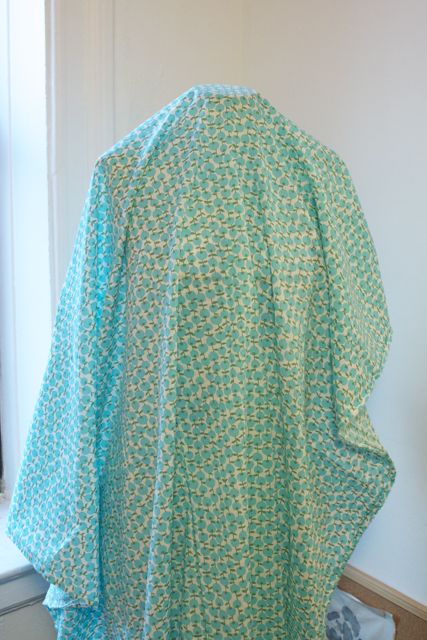
I decided to use a China silk underlay on my bodice, with a separate lining for the bodice only (more on this in an upcoming post). On the front and back bodice, the underlay is applied in the exact same way as an underlining. First, cut out your underlay and mark the darts and seam allowances. (You may notice a lot of darts on this piece; I converted the neckline gathers to little darts.)


The sleeves are a little different. Because I'm positioning the scallop at the hem of my sleeve (negating the need for a hem), the underlay will need to be finished separately. First, I narrow-hemmed the underlay.


That's it for now! I'll show you more as I go along.