

Okay, we're honing in on the final steps of our B6285 wrap top sew-along. Unfortunately, this project just gets harder and harder to photograph--at points it just looks like a big tangle of jersey! I'll use a mix of the pattern illustrations and my photos, but if anything is unclear, please ask me about it.
After the last steps, you should have two tops: one has the ties attached and other does not. Now we're going to stitch these two tops together!
Take the top with ties attached and bundle up the ties so that they stay out of the way--they will not be involved in the next steps, and they need to stay between the layers and not get caught in ANY stitching. I suggest rolling them up into little ball-like bundles and securing them with a large pin. Here I am holding a bundle. (See? So hard to photograph!)

Now, grab the top without ties. Put the two tops together, right sides together and pin all around the outer edges. The sleeves do not get involved in this step, and the tie "bundles" stay out of the action too.
When pinning the front edges, adjust the gathers on the non-tie top to fit the other piece.

Make sure your seam allowances stay open and your darts pressed toward center back.

Pinned all around, your top will look kinda like this. Note how the sleeves are just hanging out bunched up in the armholes, doing nothing.

The trickiest place to pin and sew is the center back neckline, were two seams meet. Don't worry too much about this during the pinning.

We're going to sew all the way around the outside edges of these pieces, leaving a three-inch gap to turn everything right side out. The back waistline is a great place to do this. Find a spot and give yourself X-marks so you know where to begin and end your stitching.

Start sewing the two pieces together, using a straight stitch and stretching the fabric slightly as you go. Start at one X-mark, and end at the end other, leaving your three-inch gap unsewn.

Keep in mind that you will be pivoting at the corners at the front (above and below the gathers).

When you get to the center back neckline, where those seam allowances meet, stitch all the way up to the point, leaving the seam allowances free. Backstitch. Then "break your stitching." This means pull your project completely out of the machine and cut the threads.
Re-start your stitching (don't forget to back stitch) on the other side of the seam allowances, pushing the seam allowances out of the way so they don't get caught. You'll have several lines of stitching that meet at one point, and your seam allowances will remain free.
This illustration shows it best:

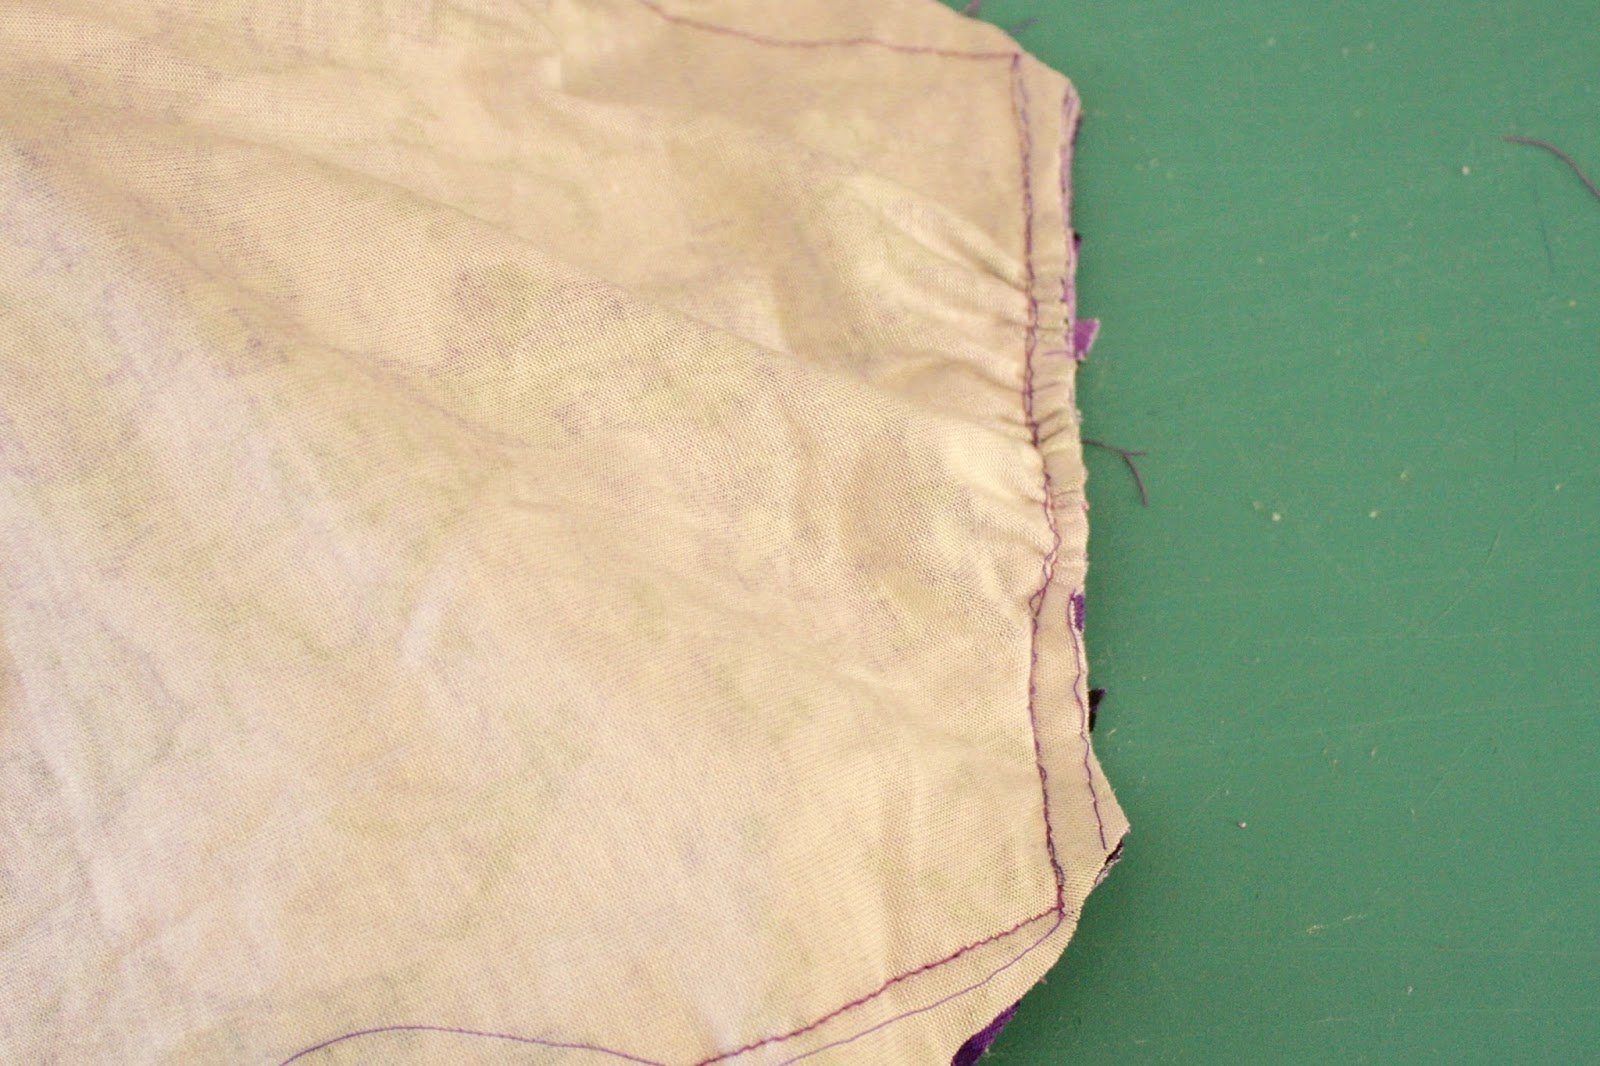
After you've completed your stitching, trim down the corners on the front and trim down the gathered seam allowances.


This one is so pretty! I love it.
ReplyDelete<3 Miss Betty Doll